Mock a REST API - Part 3

Configuring API to return multiple HTTP Status Code

In the  previous tutorial  we created a mock REST API capable of returning multiple responses with the same HTTP Status Code. 
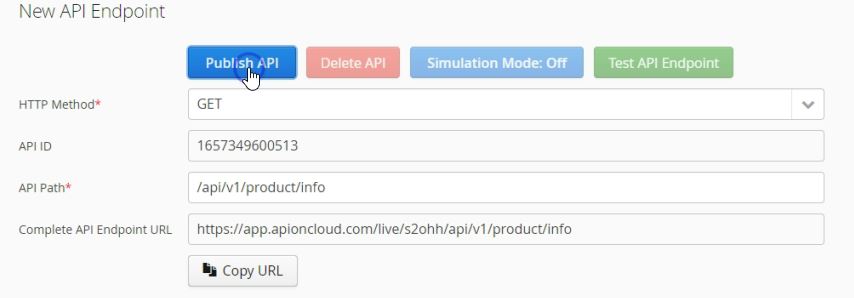
In this tutorial we will be creating a mock REST API that will return responses with different HTTP Status Codes.

You can also watch the step-by-step instructions in the video below


Step 1: Create a new HTTP GET API endpoint

  • Select GET from the HTTP Method drop-down-list
  • Enter the desired path in the in API Path textbox, we will enter /api/v1/product/info in the API Path text box for demonstration purposes


Step 2: Define the default response of the new GET API

  • Scroll down to HTTP Response section
  • We will enter 200 in the Response Code textbox, but you can enter any code that fits your need, this is only for demonstration purposes
  • We will enter text/plain in the Response Content-Type textbox, but you can enter a different return content-type.
  • We will enter Hello World in the Response Body textarea


Step 3: Add additional responses to the new API for enabling response simulation

  • Scroll down to Alternate HTTP Responses section
  • We will enter 201 in the Response Code textbox
  • Let's enter text/html in the Response Content-Type textbox
  • Let's enter the html shown below in the Response Body textarea

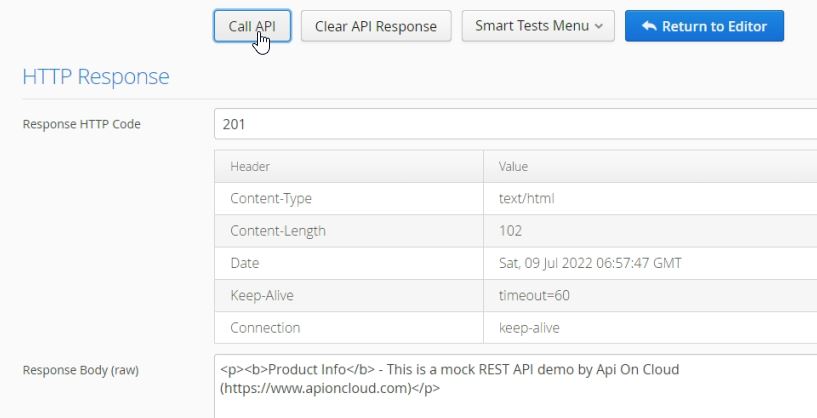
<p><b>Product Info</b> - This is a mock REST API demo by Api On Cloud (https://www.apioncloud.com)</p>  

  • Click on the Save/Add Alternate Response button to save this response


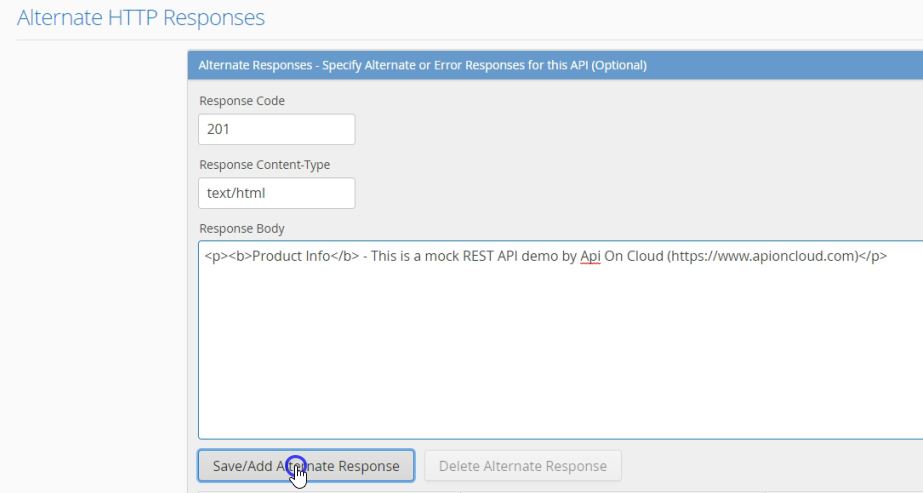
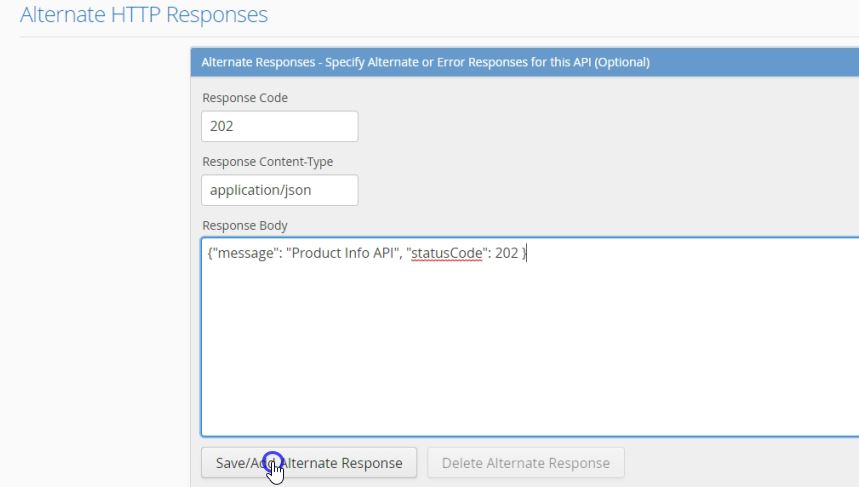
We will add a few more responses in the same way

  • We will enter 202 in the Response Code textbox
  • Let's enter application/json in the Response Content-Type textbox
  • Let's enter the json shown below in the Response Body textarea

{"message": "Product Info API", "statusCode": 202 }

  • Click on the Save/Add Alternate Response button to save this response


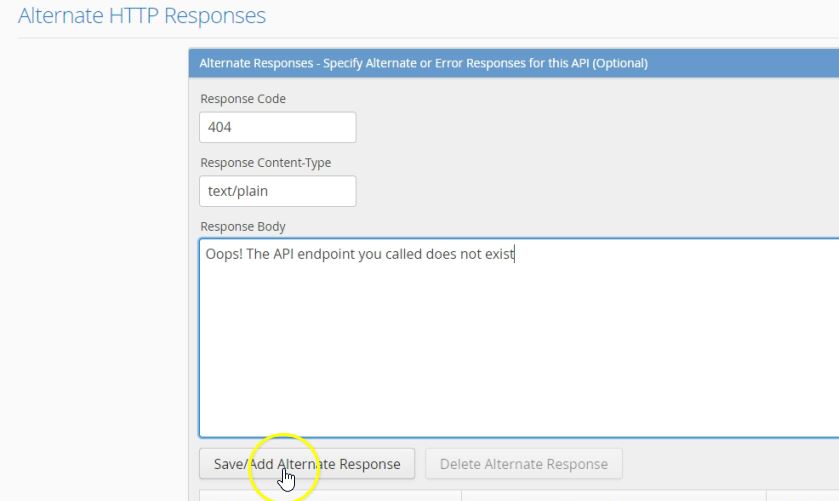
Now let's define a response that returns HTTP Status Code 404

  • We will enter 404 in the Response Code textbox
  • Let's enter text/plain in the Response Content-Type textbox
  • Let's enter the text shown below in the Response Body textarea

Oops! The API endpoint you called does not exist
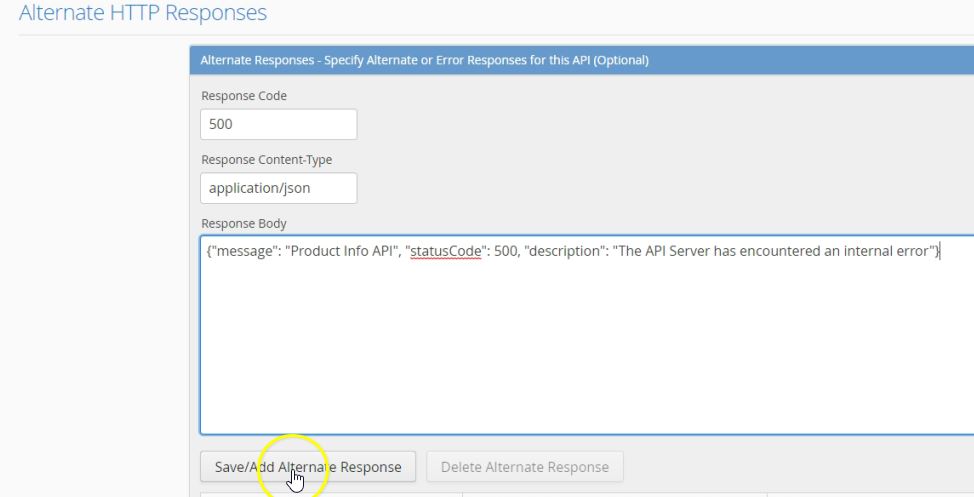
  • Click on the Save/Add Alternate Response button to save this response


Now add a response that returns HTTP Status Code 500

  • We will enter 500 in the Response Code textbox
  • Let's enter application/json in the Response Content-Type textbox
  • Let's enter the json shown below in the Response Body textarea

{"message": "Product Info API", "statusCode": 500, "description": "The API Server has encountered an internal error"}
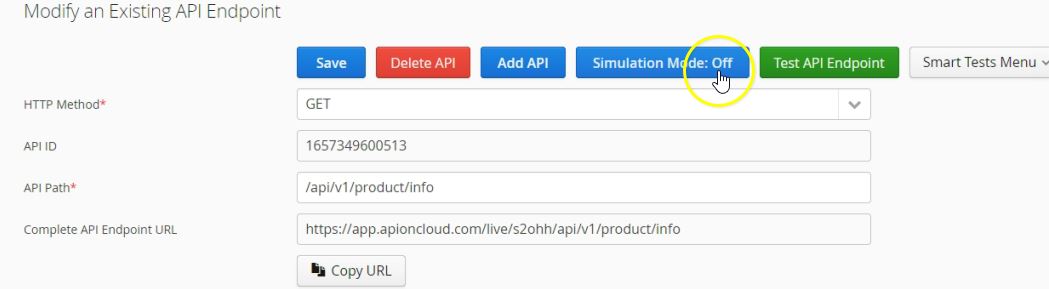
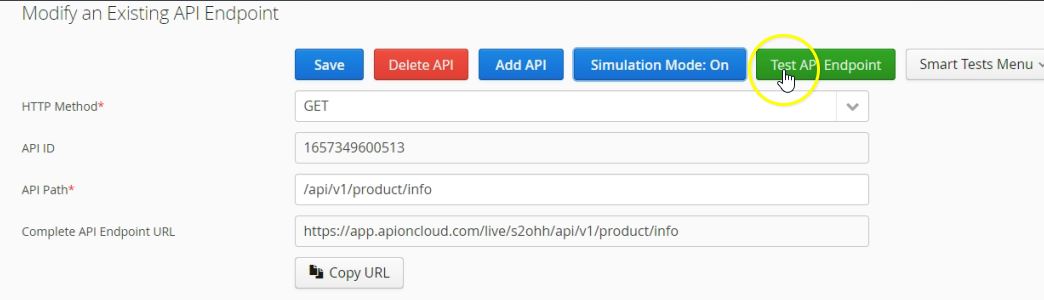
  • Click on the Save/Add Alternate Response button to save this response


Step 4: Save the API and enable response simulation

  • Scroll to the top of the page and click on the Publish API button. This will save the newly defined HTTP GET API


  • To make this API return all the alternate responses we have added in Step 3, we need to run this API in simulation mode. To run the api in simulation mode, press the Simulation Mode: Off button to switch-on response simulation


Step 5: Test the API

  • You can easily test the newly created mock REST API by switching to the built-in API Tester
  • Click on the  Test API Endpoint  button will take you the built-in API Tester

  • On the API Tester screen, all the required HTTP Request fields will be already populated.
  • Clicking on the Call API will call the new mock API and the response of the API will be displayed below the HTTP Response section.

  • If you enabled Simulation before launching the API Tester then the mock API will return one of the alternate responses you defined at the time of API creation. You can test response simulation by pressing the Call API button more than once.